Valuable insights
1.My Passport Windows Compatibility: The My Passport portable hard drive is designed for seamless connection and immediate use on Windows computers, requiring no external power.
2.Essential Handling and Storage: Proper care is crucial for the My Passport drive, including avoiding physical shocks and storing it in a secure location to prevent data loss and device damage.
3.OS Formatting Considerations: While pre-formatted for Windows, users planning to utilize the My Passport drive with a macOS system must reformat it, following specific instructions.
4.Simple Plug-and-Play Setup: Connecting the My Passport drive is straightforward; simply plug the USB cable into the drive and then into a Windows 8.1 or Windows 10 computer for automatic recognition.
5.Value-Added Software Suite: Each My Passport purchase includes access to WD Security, WD Utilities, and WD Discovery, enhancing the drive's features and overall user experience.
Introduction
This video serves as a comprehensive guide on effectively connecting the My Passport portable hard drive to a Windows computer. Western Digital Support outlines the straightforward process, ensuring users can quickly set up their device. Understanding the initial steps is crucial for maximizing the drive's functionality and ensuring a smooth integration with your Windows operating system, setting the foundation for reliable data management and storage.
Things to Keep in Mind
Before connecting the My Passport drive, users should be aware of several important considerations that contribute to its longevity and data integrity. A key feature is that the drive does not require any external power source; it draws all necessary power simply by being plugged into the computer's USB port. This design enhances portability and reduces cable clutter, making it convenient for on-the-go use and minimalist setups.
Handling and Storage Recommendations
It is crucial to handle the My Passport drive with utmost care, diligently avoiding any bumps, drops, or falls that could compromise its internal components or lead to data corruption. Storing the drive in a safe, stable, and secure location is paramount to protect against potential device damage and irreversible data loss, ensuring its reliable performance over time. Users should always prioritize physical protection for their external storage devices.
Operating System Compatibility
The My Passport drive is factory-formatted and immediately ready for use on a Windows system, offering a plug-and-play experience. However, users intending to deploy the drive on a macOS system will need to perform a reformatting procedure. Specific instructions for reformatting the drive for macOS are available through dedicated video tutorials, which are often linked in product documentation or support resources to guide users through the process.
The drive leaves the factory formatted and ready to use on a Windows system. If you want to use your drive on a macOS system, you'll need to reformat.
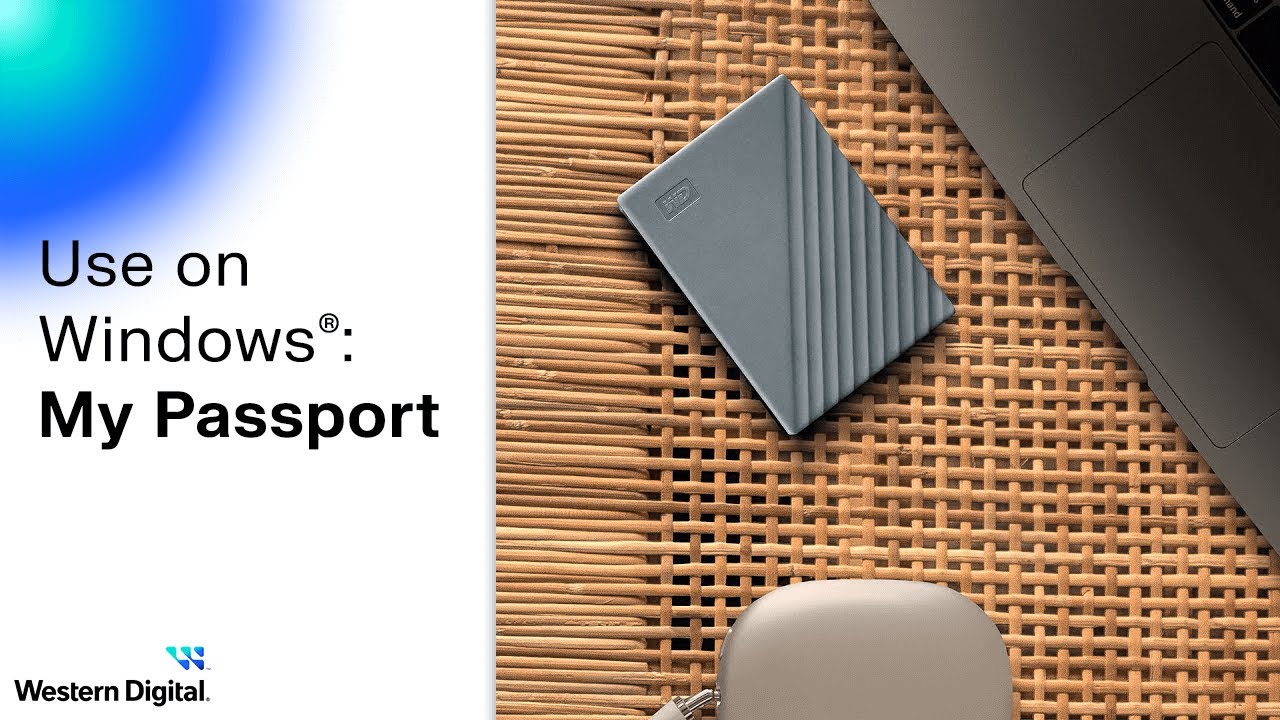
Connect to Computer
Connecting the My Passport portable drive to your computer is a simple, two-step process designed for ease of use. The first step involves locating the USB port situated on the top edge of the My Passport drive. This port is specifically designed to accommodate the provided USB cable, ensuring a secure and stable connection that initiates the data transfer pathway between the drive and your computer system.
- Locate the USB port on the top edge of your My Passport drive.
- Plug the USB cable into the drive's port.
- Attach the other end of the USB cable to an available port on your computer.
Once the physical connection is established, if your system is running Windows 8.1, Windows 10, or any later version of Windows, the computer is designed to automatically recognize the connected drive. This automatic recognition means that the system will detect the new hardware, install any necessary drivers in the background, and prepare the My Passport drive for immediate use without requiring manual configuration from the user.
Access the Drive
After successfully connecting the My Passport drive, accessing its contents on a Windows computer is intuitive and straightforward. Begin by opening File Explorer, which is the primary interface for navigating files and folders on your system. Once File Explorer is open, direct your attention to the left-side column. Here, the newly connected drive will be clearly listed and typically identified by its default name, 'My Passport', indicating it is now fully operational and ready for use.
Included with Purchase
The purchase of a My Passport drive often includes access to a suite of beneficial software applications designed to enhance its functionality and security. These applications typically encompass WD Security, which provides encryption and password protection for your data; WD Utilities, offering diagnostic tools and drive management features; and WD Discovery, a hub for managing your Western Digital products and cloud services.
While these software utilities are not strictly required for the basic functionality of the My Passport drive, Western Digital highly recommends exploring them. Utilizing these tools can unlock additional features, provide enhanced security measures for your valuable data, and optimize the overall performance and longevity of your portable hard drive, ensuring you gain the maximum benefit from your investment.
Useful links
These links were generated based on the content of the video to help you deepen your knowledge about the topics discussed.